
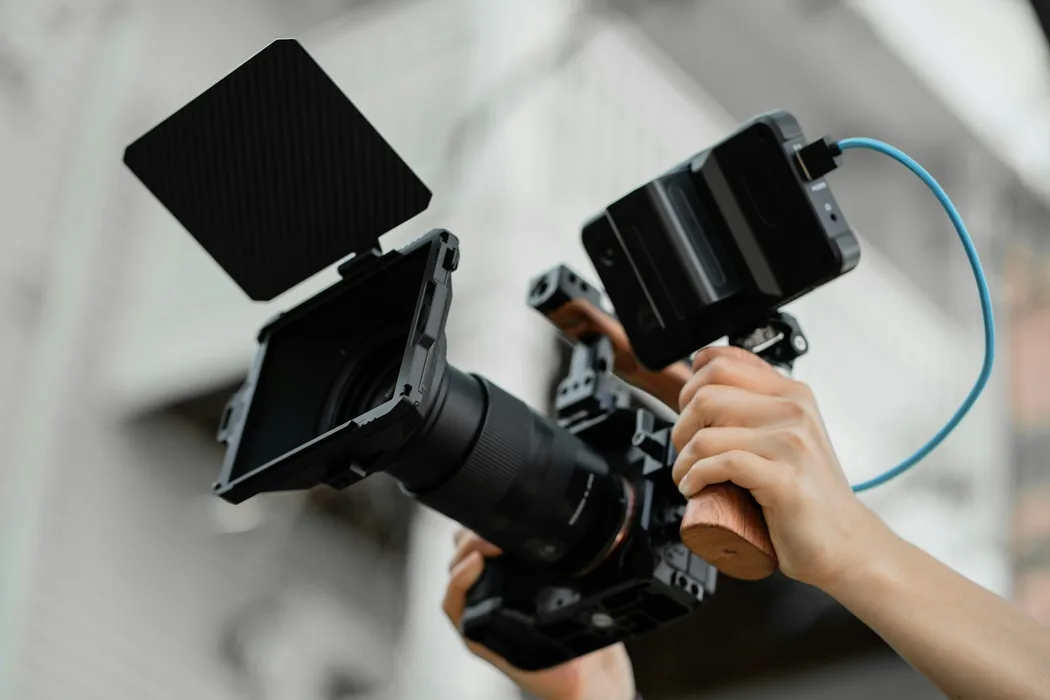
Start with one change
Choose the purpose of each clip before filming: location, process, proof, answer, finished result, and invitation. Spend the final few minutes collecting quiet close-ups.
Create the shot list around questions customers ask, then group filming by setup. Record the outside, the space, one person doing the work, a close-up, a finished result, and a detail someone normally misses. Those shots give editing a beginning, context, and a payoff.
Pick a few messages for the coming month. A restaurant might need to introduce a dish, show preparation, and explain the reservation route. A consultant might want to answer a common question and introduce how the first meeting works.
What it looks like in practice
A retailer can film the storefront, the product in use, a detail, an answer about sizing, the finished display, and the way to order.
In the first ten minutes, check sound, light, and permissions in the space. Whenever possible, hold each framing for a few seconds before and after the action. A still join between clips helps the editor make cleaner cuts and leaves room for captions.
For each story, list a wide view, a useful detail, and the action that makes the explanation tangible. A product story might need the item in context, a closer view of its material, and a demonstration of its use.
What OSOS can take on
OSOS can prepare a short shot list and edit the material into a mix of reels and stories. See how we work ↗
In the final ten minutes, review the clips for focus and readable labels before everyone leaves. Name files so your editor can distinguish close, wide, and finished versions. Add a note on where footage can be published and which details to crop out.
Gather products, clean the relevant area, and check permissions before filming. Keep customer information and private documents out of the frame. Test light and sound with a short clip before recording the full answer.